
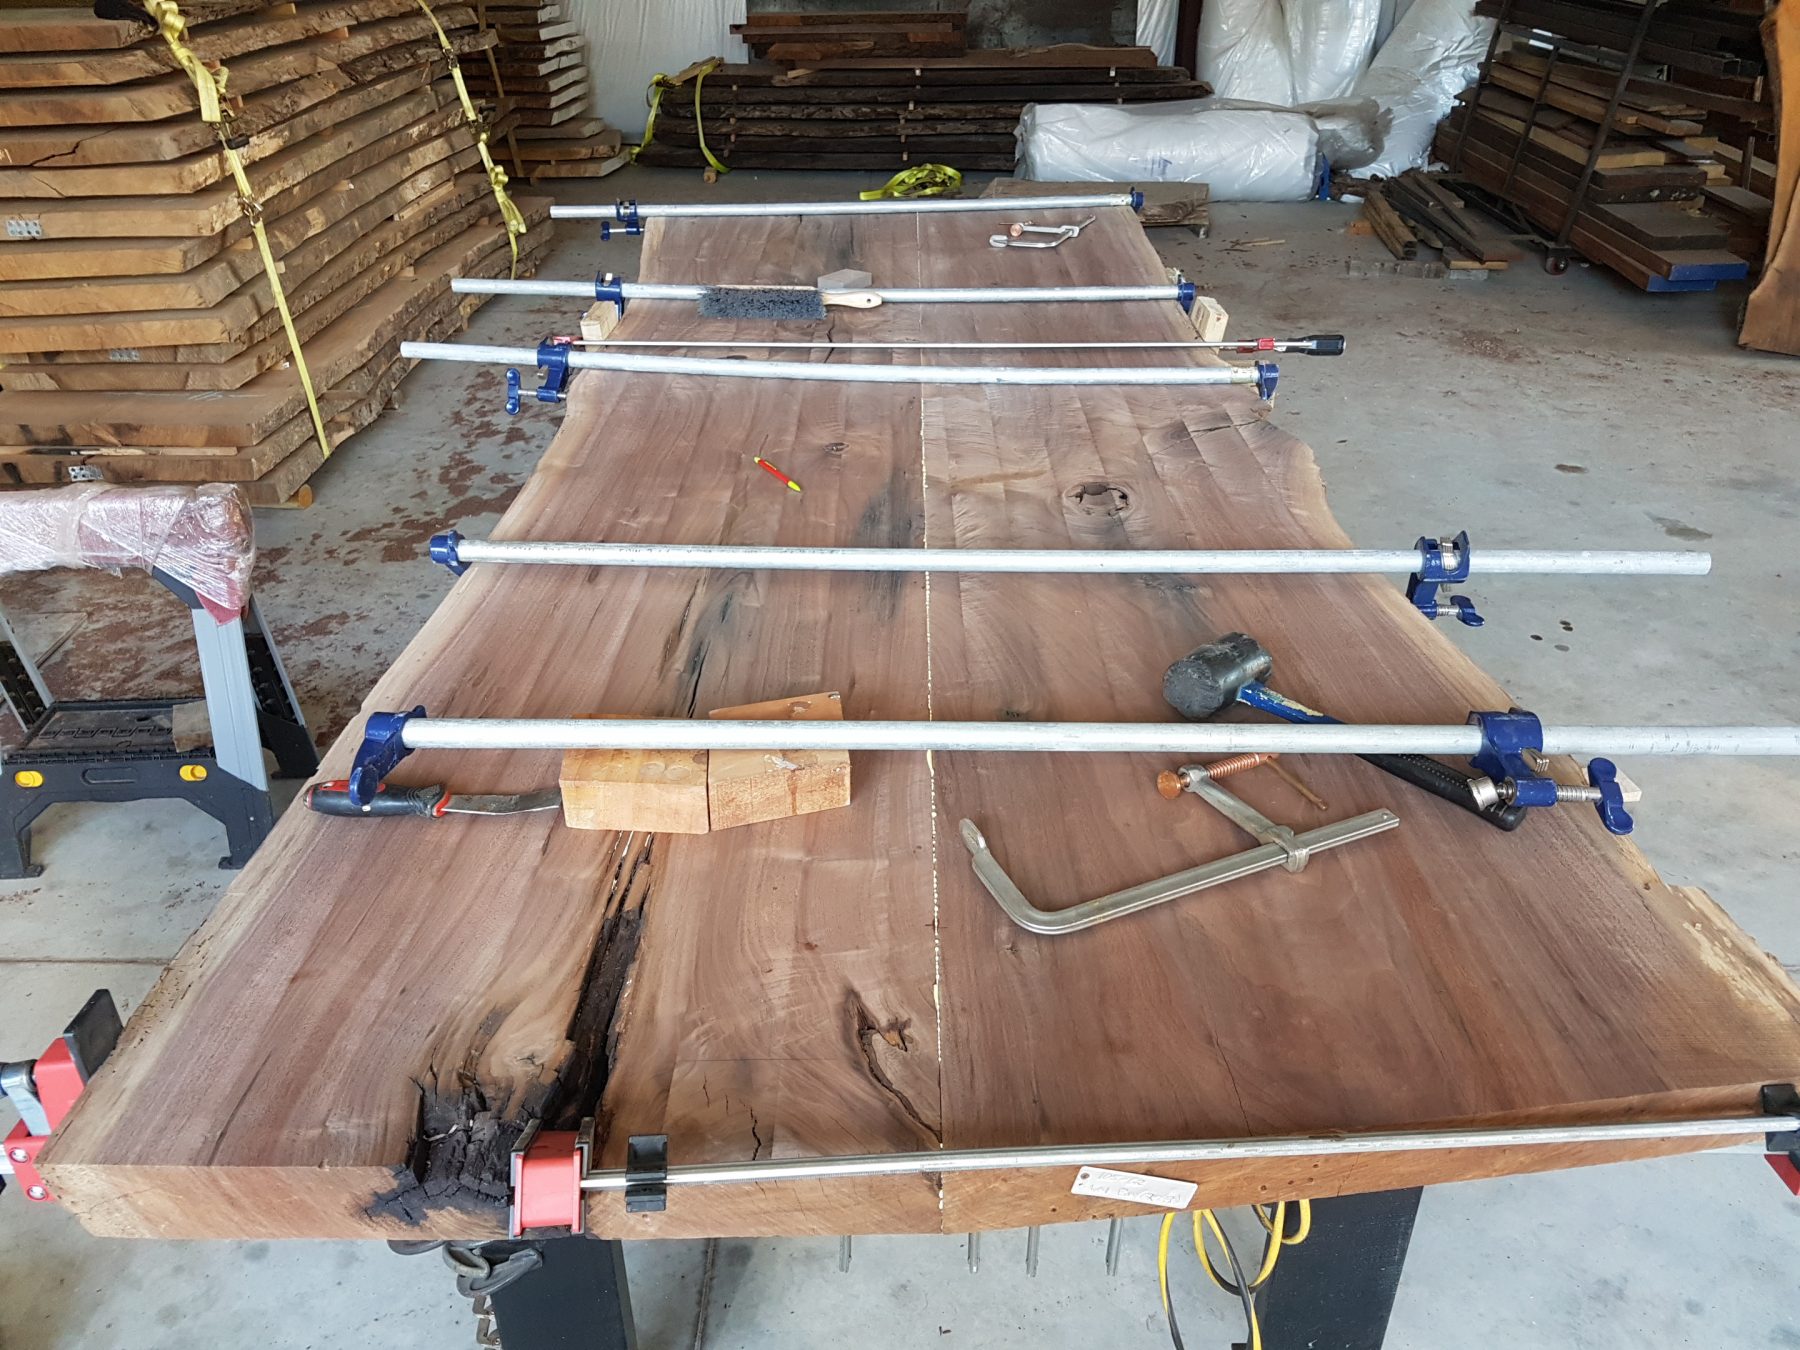
We salvaged a standing dead Oklahoma walnut tree back in 2014. The log was milled in 2015 and have been drying ever since. We are happy to say these slabs are properly dried and ready for use. This has been a somewhat challenging effort as we’ve gone to great lengths in order to properly stabilize these slabs. Let it be known, in order to have a proper mechanical fixation using bowties that it is critical the bowtie thickness is at least 50% of the surface thickness. So a 3″ thick table top, requires at least a 1.5″ thick bowtie. Many woodworkers don’t realize this and are providing false sense of security to their clients by making rather shallow bowties that are nothing more than decorative inlays. Tip of the day!!
The greatest challenge is two-fold with this project. This particular urban log had an unusual amount of embedded nails and fencing fasteners that were hammered onto the outside of the tree anywhere from 20-40 years ago depending on the location within the log. A nightmare for your sawmill blades and a potential major injury hazard (snapping blades). Second, during our CNC planing, we ran into more embedded metal. Gotta be careful here, too!
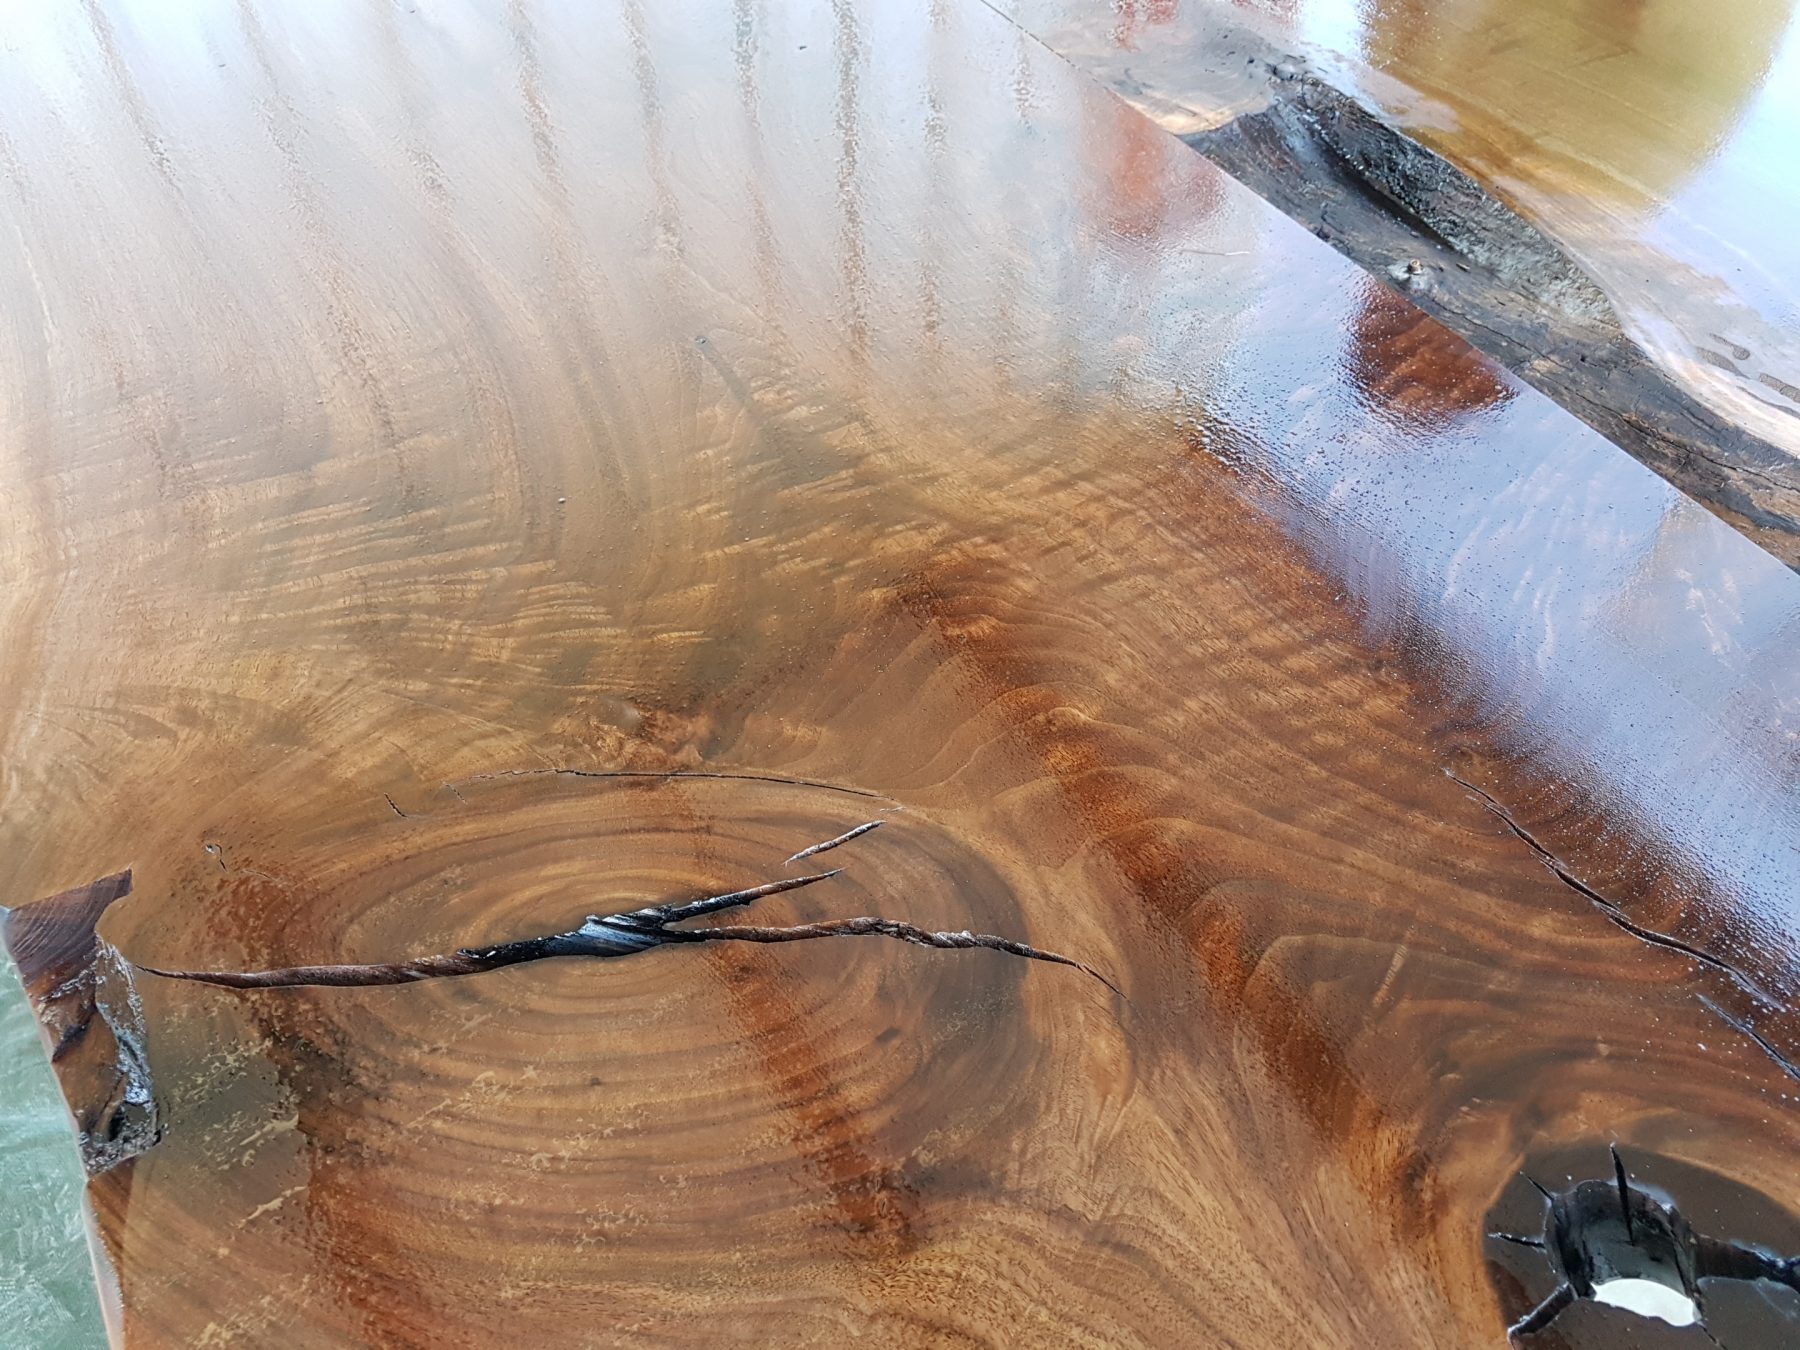
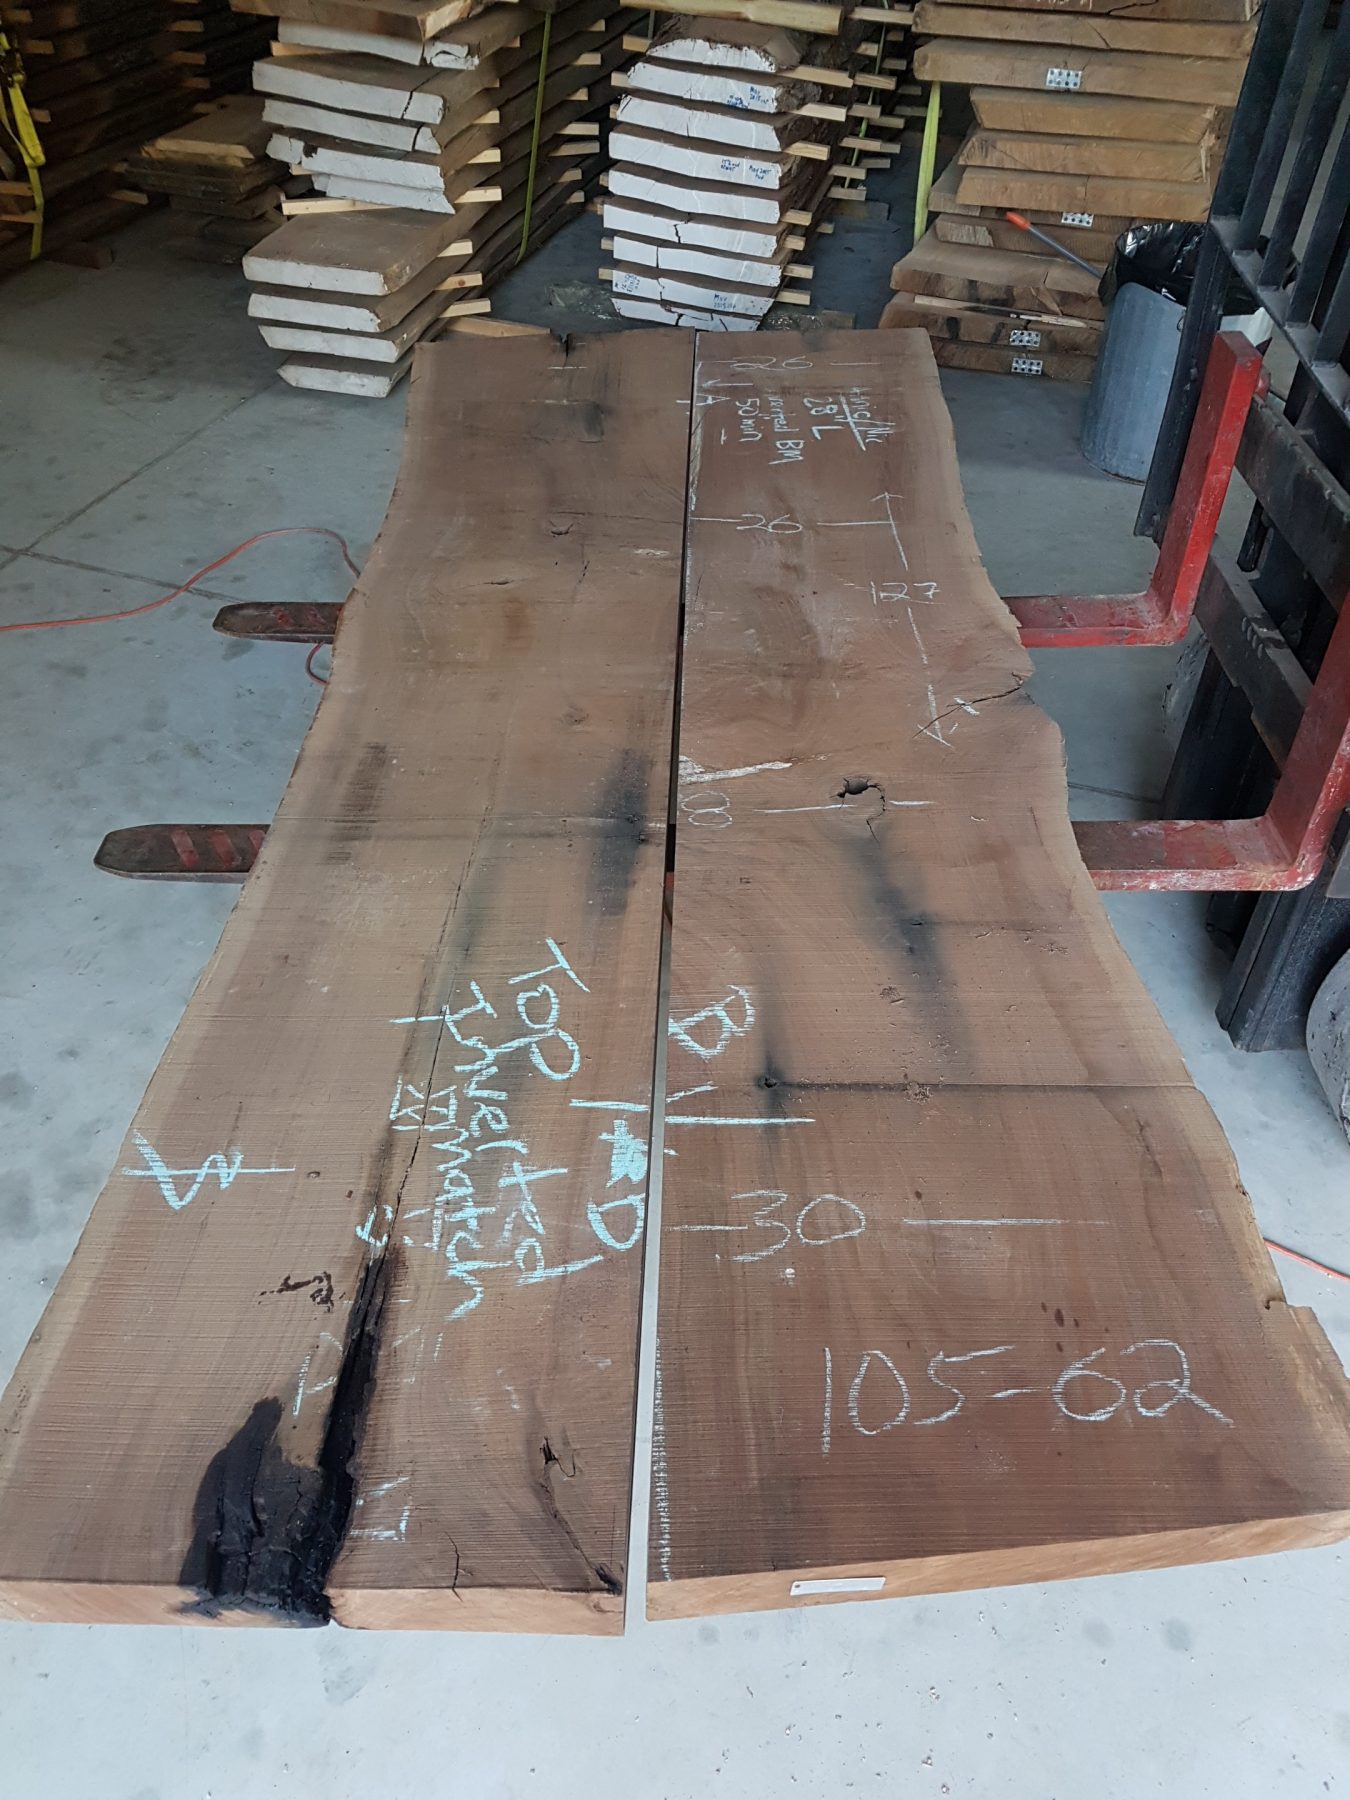
What’s a good visual sign outside of using a metal detector? If you look closely at Image 1 below, you will see blackened areas which are created from the iron in the metal. A obvious sign that metal is somewhere embedded within the wood! The metal only adds to the amazing story of this log and our efforts to turn it into a true artform to be enjoying for generations. However, it can create a working hazard so it requires extra attention.
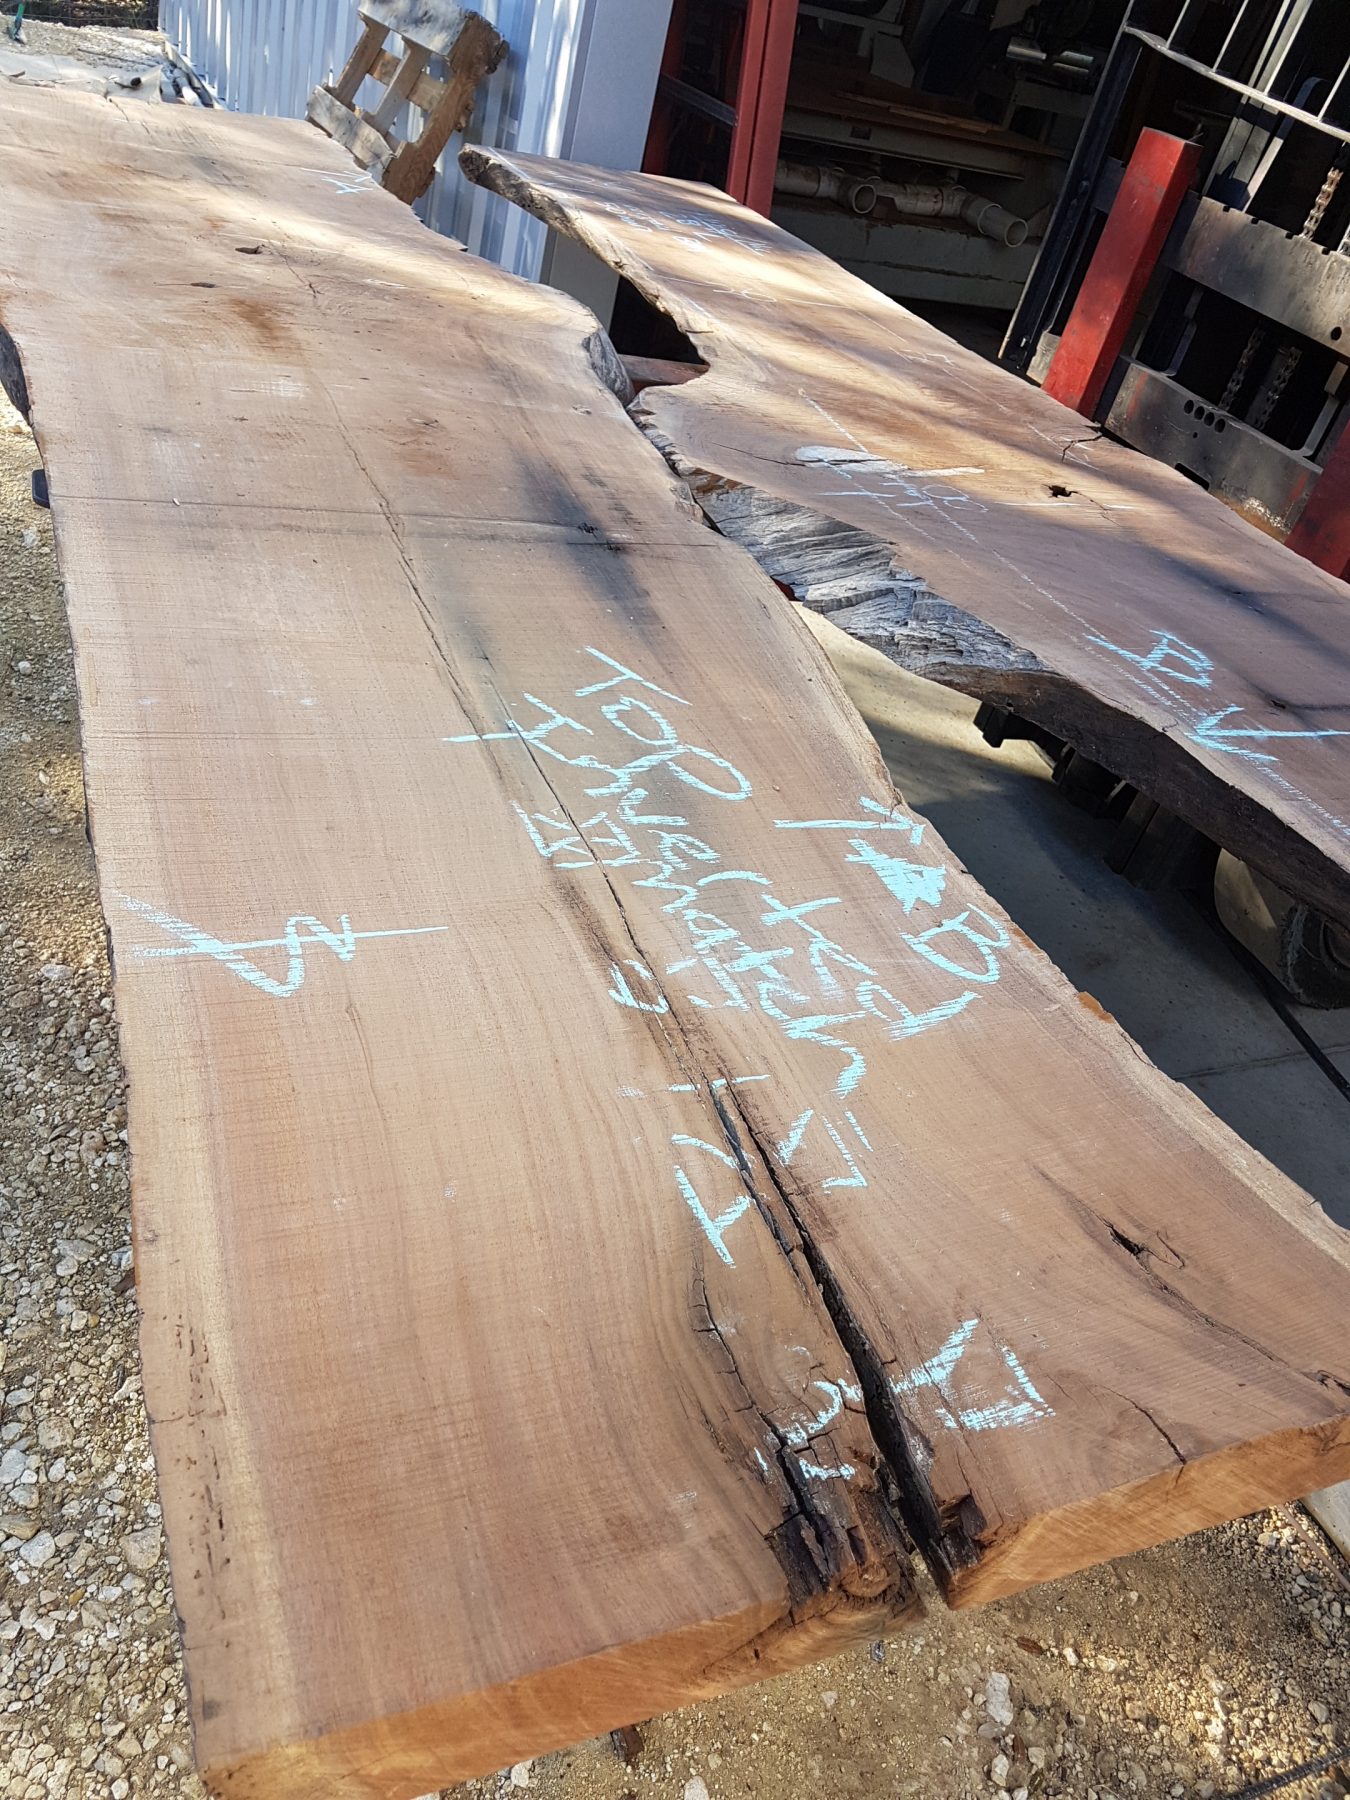
Image 1: The two black “stains” on the surface of the slabs are a result of a chemical reaction with the iron (metal) embedded within the wood. Gotta be careful during planing.
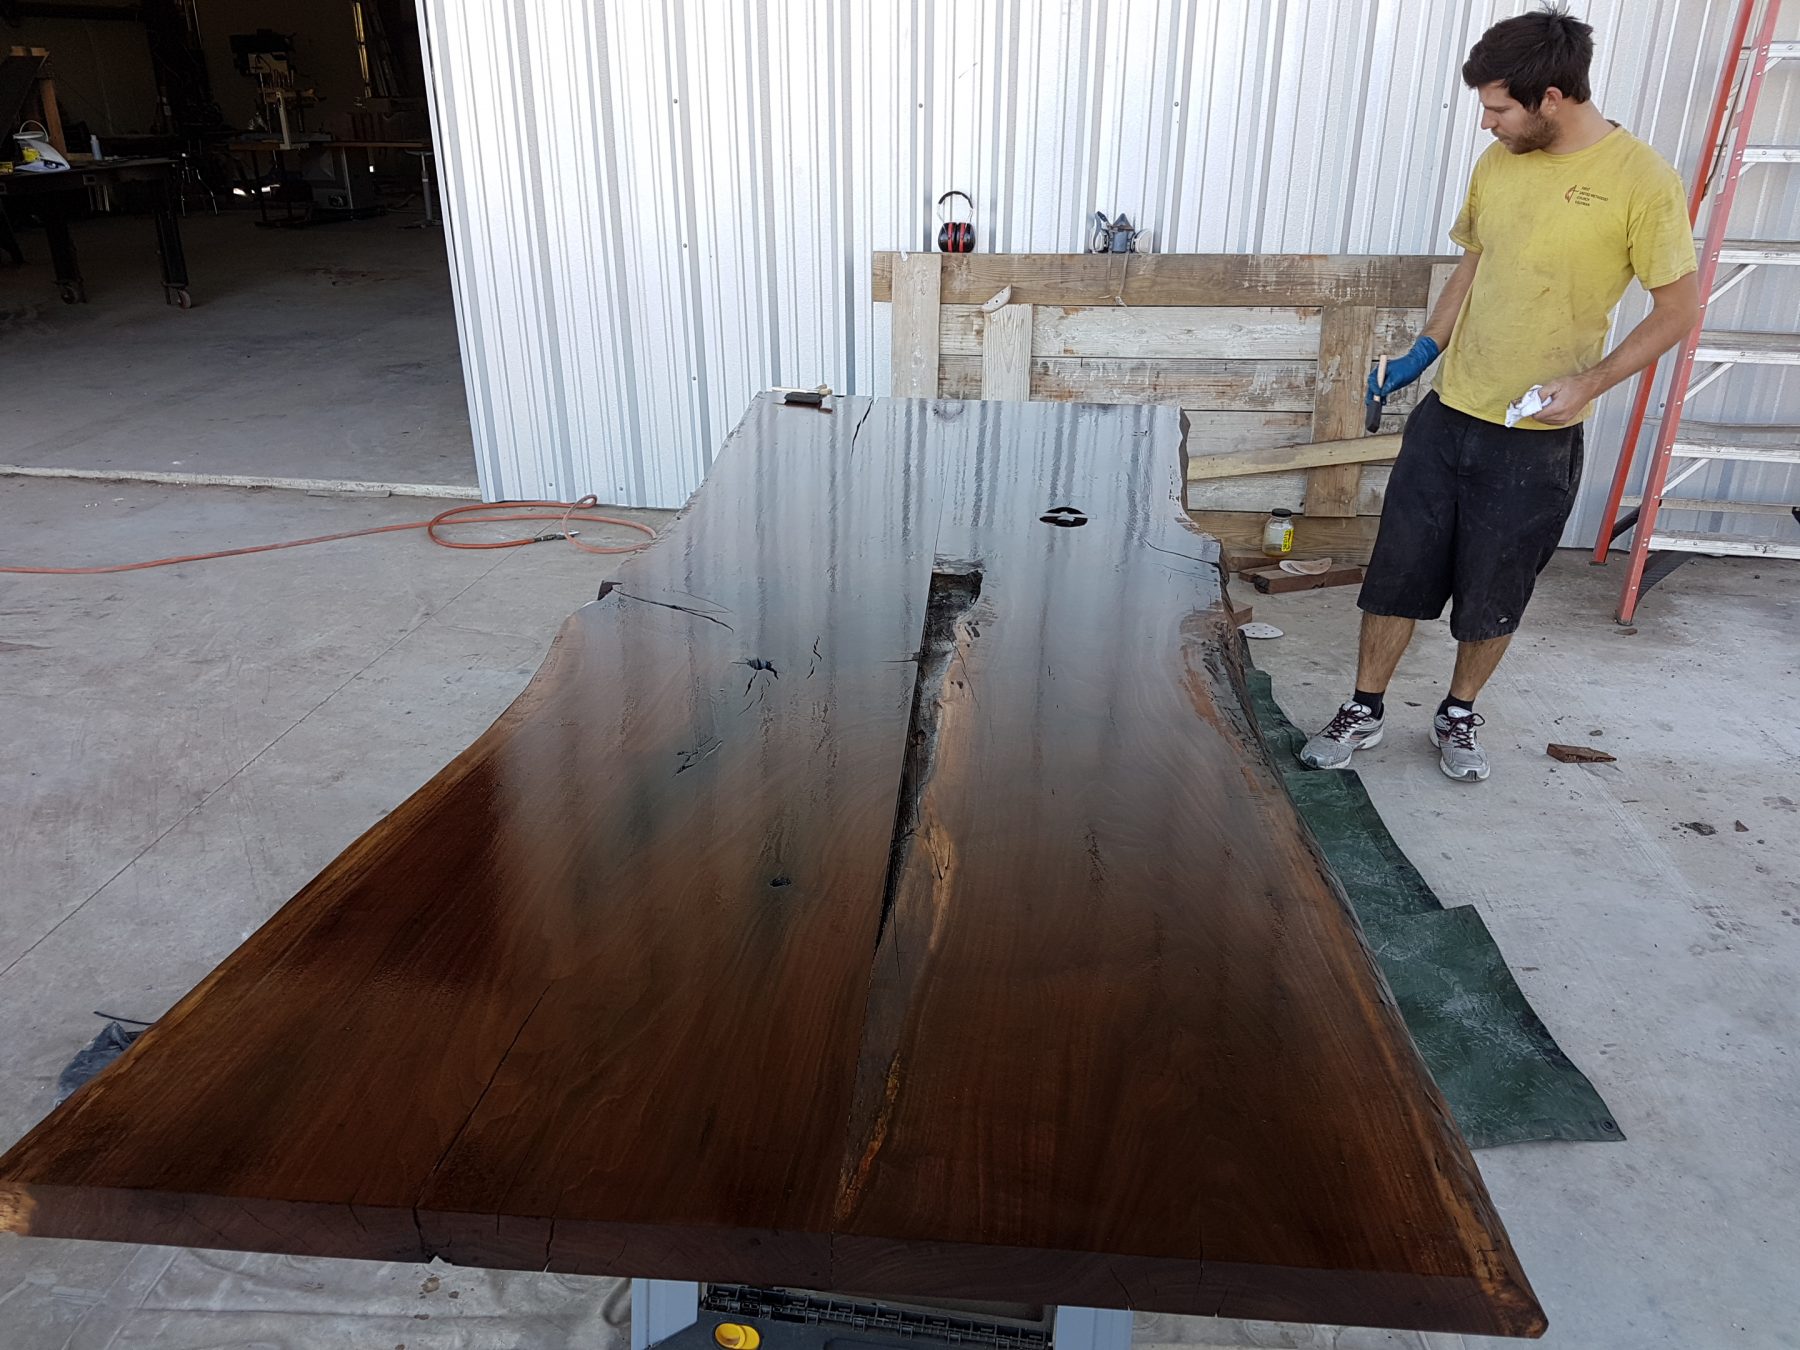
We’ve now successful planed it and having had to stability not only the cracks but also some soft spots. Remember, this particular urban tree was standing dead for about 3 years so some decay was occuring. A great way to deal with this is to mix up some extremely viscous 2-part epoxy, let soak, re-apply, let soak, etc. You do this until you’ve staturated this soft spots and basically filled the wood cells and grain voids with epoxy. At this point, we are ready for finishing.
So that’s where we stand today. Stay tuned for more.
